Combo of Live Chat, Helpdesk, Voice & Video Chat
Social Toolbar for automatic social media integration
Fully Customizable - colors, themes, text, templates and position
Take chats on Agent Dashboard
One-click installation and simple pricing


Sign up for an account and verify your email if you have not done so already.
Log in to configure your account.
After logging into your ClickDesk Dashboard, click on Add Operator.
Click on 'Add Operator'.
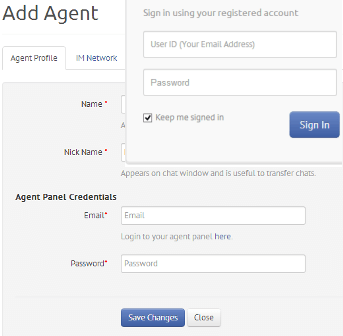
Enter the operator details such as 'full name', 'nick name', 'email id' and other details. Click on 'Add Operator' at the end of this form.


After adding the operator, go to the 'Departments & Code' tab.
Click on 'Add Department' in the navigation bar.
Enter a department name and assign operators to it by enabling the checkbox.
You will now see a new department created.
You can assign any number of operators to a department depending on your selected plan.
Click on the "Get your code" link to view your 4 lines of code.
Copy these lines of javascript code and paste them in your site.


Login to your Webs account and choose your website.
Go to the editor and in the "my pages" section, select the page.
Edit the page on which you would like the chat widget to appear.
Go to Layout -> Custom HTML.
In this block, paste the ClickDesk code and click 'Save'.
Publish your site and the Webs chat widget will now appear on your web pages.

