Seamless combination of live chat and help desk
Voice and video chat directly from the browser - no extra installation required
One-click installation and setup
Your operators can respond from the Agent Dashboard
Get complete visitor information: name, email, location, pages being browsed and more
Customize proactive chat invitations to get more sales
Powerful analytics and reports


Login to your MODX manager.
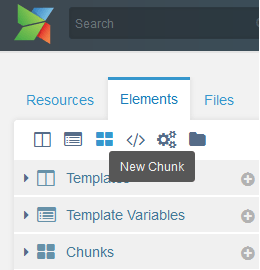
In the 'Elements' tab of the left sidebar, right click and create a new chunk.
Name the new chunk as 'clickdesk'.
Signup for ClickDesk and verify your email.
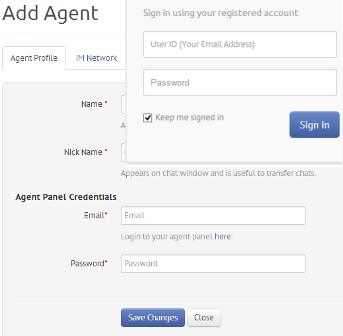
Login to your Dashboard and add an agent.


After adding the operator, go to the 'Departments & Code' tab.
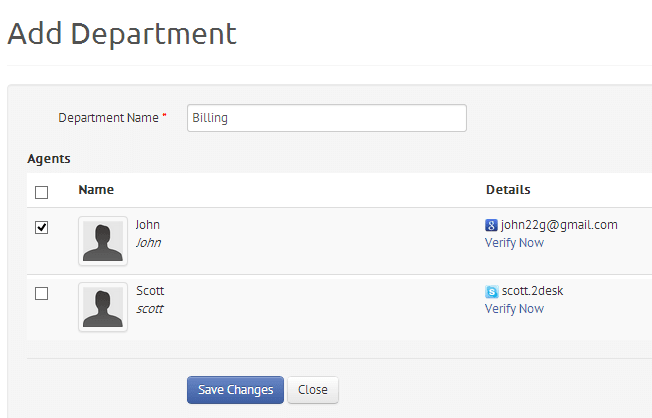
Click on 'Add Department' in the navigation bar.
Create a new department and assign operator(s).
Add the department.
After assigning the operators to the department, you can now find a link labeled 'Copy Code to Clipboard'.
Click on the link to copy the MODX chat code.


Sign into your MODX manager.
In the ClickDesk chunk (which you created in Step 1), paste the ClickDesk code in the 'Chunk code (html)' area and save it.
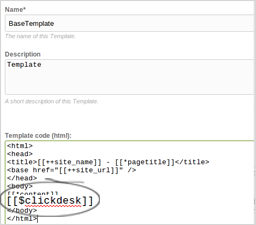
You can now use [[$clickdesk]] short code in your template in the specific pages content.
For ClickDesk to appear on all the pages of your MODX website, use the short code just before the closing body tag of your template.
To use ClickDesk only on specific pages, paste the short code in the area provided for page content.
That's it! You can now start accepting and initiating conversations on your site.

